South Hell Survival Tools Ranked S–C
When to carry, place, throw, or skip each South Hell tool.
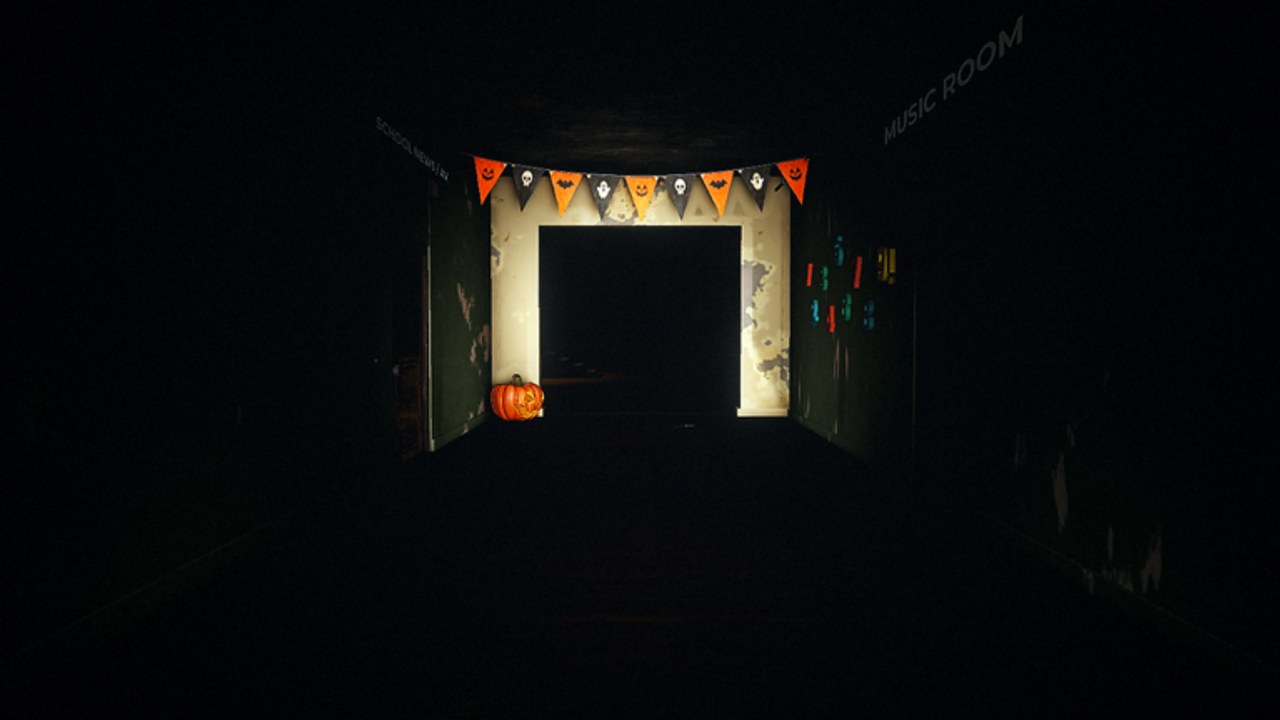
This page is the deep dive behind the Tier List Hub. Every entry below is scored for escaping Cartman in South Hell: time saved, lives protected, key-delivery safety, and how often new players waste the item. Pair it with Survive Cartman, Key Locations, and the Full Walkthrough.
South Hell (Roblox, developer S00NR) still sits in BETA. Loot tables and timings can drift after silent patches, so treat tiers as practical priorities—not eternal gospel. Redeem Codes for Cash before shopping, and learn Controls so gadget slots do not freeze you mid-chase.
Ranking rules
- Does the tool gate progress or prevent a wipe?
- Does it work every round without perfect timing?
- Does misuse create more danger than safety?
- Is it free locker loot, Cash shop stock, or a Robux pass?
Passes are judged on impact. Price alone never grants S tier.
S tier — required survival backbone
Crowbar
Why S: You cannot start the key hunt without it. Spawn in the basement, grab the crowbar near the heaters / green electrical cabinet and toilet, then hold interact on the boarded stairway until every plank drops. After the boards clear, the crowbar stays behind and the objective becomes finding keys. There is no alternate opener. Missing the crowbar is not a “slow start”—it is a stuck run.
When to use: Immediately. Do not explore upstairs first. Do not hoard it. Clear boards, then move into the school with a mental map of the basement exit. New players should finish this once with the Getting Started checklist before worrying about shop buys.
The four keys
Why S: Blue, Yellow, Red, and Green keys unlock the basement exit. Room labels players hunt around include 4TH GRADE (Blue), LOCKER ROOM (Yellow), near NURSE (Red), and COMPUTER LAB (Green). Exact locker tiles can vary, but the wing labels stay the useful search filter. Keys are both the win condition and the biggest risk: getting caught while carrying one drops it.
When to use: Pick up only when you have a delivery plan. Prefer short paths back to the glowing exit door. If Cartman is close, hide first, then move. After all four locks open, watch for a clean escape prompt—or a Jammed Exit objective if the door fights you.
Hiding lockers and safe rooms
Why S: These are the real defense system. Green lockers marked as hiding places let you break line of sight; complete the click-circle minigame and stay quiet. Safe rooms—especially the basement and closed red-lit maintenance-style rooms Cartman cannot enter—reset panic and let you replan. Gadgets fail. A clean hide still works when your inventory is empty.
When to use: Pre-aim a locker before opening noisy areas. Duck in when footsteps rise, after smashing glass, or right after grabbing a key. Close safe-room doors. Do not shine lights through gaps at Ike, and keep voice chat low while hidden. Results screens often tally hides and catches—use that feedback.
A tier — carry every serious run
Bear Trap
Why A: Floor traps stun Cartman and create escape windows. Locker text basically teaches the loop: take the trap, switch to the trap slot, aim at the floor, click to place. A catch on a trap shows up in results and can save a key run.
When to use: Place at choke points outside safe rooms, along your planned retreat from a key wing, or in hallways Cartman repeatedly patrols. Do not drop it in the open middle of a dead-end with no second exit. One well-placed trap beats three panic placements you never lure him across.
Flashlight and batteries
Why A: Darkness is a mechanic, not mood lighting. Batteries from lockers keep the beam alive so you can read labels, avoid glass, and path to the basement without eating walls. The counterweight is Ike: tutorial and community notes warn not to shine your light on Ike, and results can track Ike screams.
When to use: Short bursts in unfamiliar halls. Kill the light in known routes. Never scan Ike “just to check.” If batteries run dry mid-wing, fall back toward safer lighting or a known locker line instead of sprinting blind into Cartman.
Night Vision Goggles (game pass)
Why A: NVG reduces dependence on the flashlight economy and helps in darker stretches without constant beam management. It does not replace locker skill or key routing, but it lowers the Ike flashlight tax and keeps movement confident.
When to use: Night sections, long searches when batteries are scarce, and multi-life attempts where you already know room labels. Still learn normal flashlight discipline so you are not helpless if you play on an account without the pass. Details live under Game Passes.
B tier — strong with timing
Alarm Clock
Why B: A wound decoy that rings after roughly ten seconds, pulling Cartman toward the sound. Perfect when you need him off your key path. Weak when you plant it too close to your own hide or forget the delay and move into the ring radius.
When to use: Set it down a hallway away from your next locker line, then relocate. Use it to cover a basement delivery or to reset a failed chase. Do not treat it as an instant teleport distraction—count the delay.
Fried Chicken
Why B: Cafeteria bait. Throw it so Cartman stops to eat, buying a clean sprint. Hilarious, effective, and easy to waste if you toss it at your feet while he is already lunging.
When to use: Break line of sight first, throw into his patrol path, then take the long way around. Great after a noisy locker search or before a risky key pickup in an open wing. Pair with a pre-chosen locker in case he ignores the snack.
Boombox (game pass)
Why B: A louder personal distraction tool. In the right hands it creates space; in the wrong hands it becomes a “here I am” beacon. Ranked below free bait/trap options because success depends more on judgment than on owning the pass.
When to use: Deliberate pulls away from a teammate carrying a key, or to yank Cartman out of a room you must cross. Avoid spamming near your hide, near Ike-sensitive moments, or while you still need stealth to finish a locker minigame.
C tier — optional or easy to overvalue
Spending Cash with no escape plan
Cash from exploration and codes (RELEASE, SOUTHHELL, and whatever is live on the Codes Hub) is valuable. Blind shop spending is not. Buying extras before you can clear boards, hide cleanly, and deliver one key usually pads the inventory without raising escape rate.
When it rises in value: After you consistently reach mid-run alive. Then prioritize traps and practical consumables that match your weak spots—not every shiny listing in the Cash shop.
Suggested loadout by skill stage
First escapes: Crowbar → boards → locker discipline → one key at a time → basement deliveries. Read Getting Started.
Stabilizing runs: Add Bear Trap placements and battery habits. Practice chicken or clock once per attempt, not five panic uses.
Optimized runs: NVG if you own it, trap highways on your favorite routes, bait reserved for key-carrying moments, Boombox only for planned pulls. Track Badges after clean escapes.
Common mistakes that fake a “bad tier list”
- Treating Boombox as better than lockers.
- Shining Ike while testing flashlight “range.”
- Carrying two keys through the noisiest hallway because the map “felt clear.”
- Placing a Bear Trap inside a safe room you already closed.
- Ignoring the basement as a reset hub between deliveries.
Related pages
Return to the Tier List Hub for the overview table. For chase movement, open Survive Cartman. For door failures after the fourth key, use Jammed Exit. For player cosmetics and unlocks, see Players. For BETA patch cadence, skim Updates and the Changelog.
Master S-tier habits first. Let A-tier tools multiply good routing. Spend B-tier decoys like limited ammo. Treat C-tier shopping as a reward for already knowing how to hide.
Frequently Asked Questions
Quick answers for escaping South Hell and surviving Cartman.
What is the best item for beginners in South Hell?
The crowbar first, then locker hiding. Bear Trap is the best early gadget once you can survive long enough to place it.
Is Night Vision better than a flashlight?
NVG is easier for dark wings and Ike risk, but flashlight plus batteries remains fully viable. Pass ownership is a comfort upgrade, not a requirement.
Should I always throw Fried Chicken when I see Cartman?
No. Break line of sight, throw into his path, and move elsewhere. Tossing it at your feet during a lunge wastes the bait.
Why is Boombox only B tier?
It can distract well, but poor timing announces your position. Free traps, chicken, clocks, and lockers cover more runs with less self-sabotage.
Do keys count as survival tools?
Yes. They are the escape condition and the highest-stakes carry item because a catch drops them.